
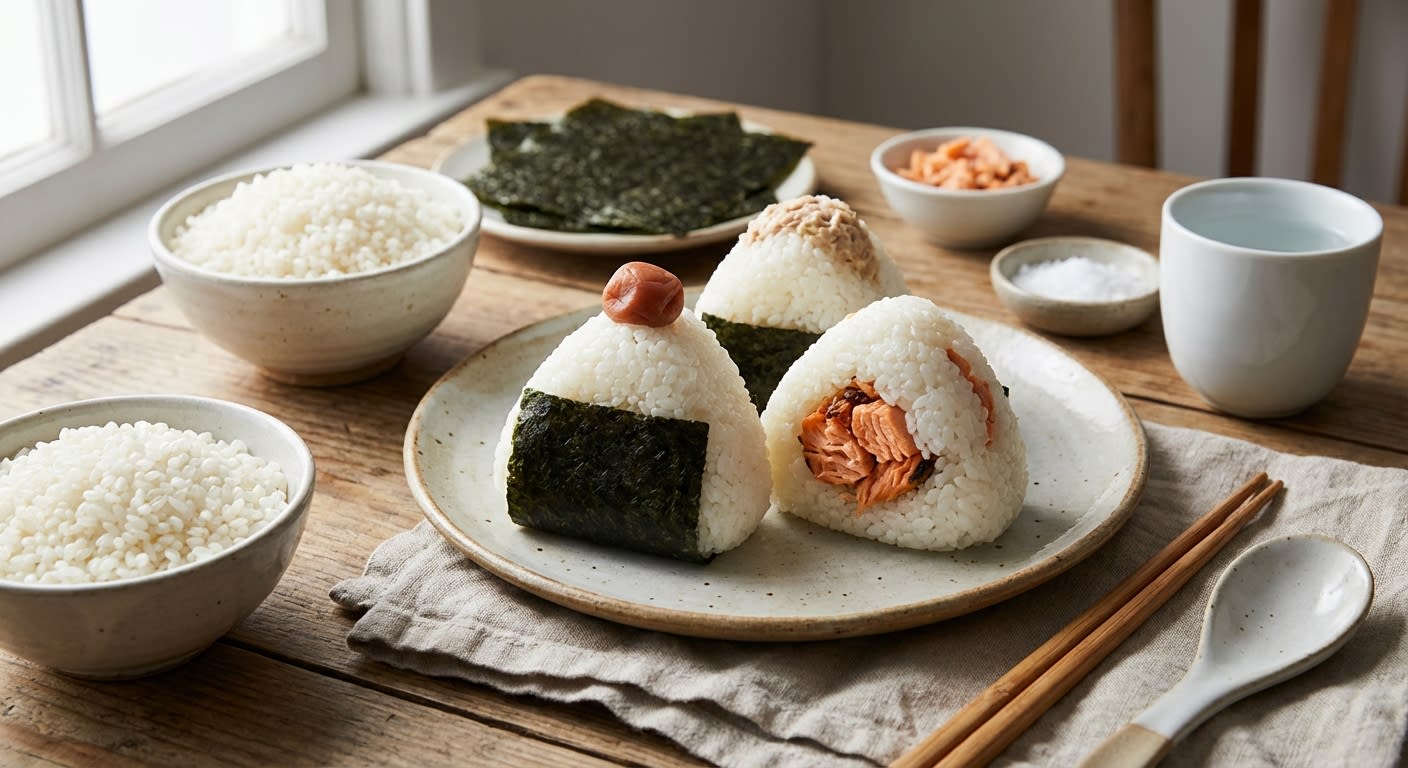
Traditional Japanese rice balls shaped into triangles or rounds and often wrapped in nori, featuring various savory fillings.
Advertisement
Onigiri: The Perfect Portable Snack
Onigiri, also known as omusubi, are delightful Japanese rice balls, perfect for a light lunch, a picnic snack, or even a quick breakfast on the go. They are incredibly versatile – you can fill them with almost anything your heart desires! This recipe will guide you through making classic onigiri, focusing on proper rice handling and shaping techniques for optimal deliciousness.
Ingredients
- 2 cups cooked Japanese short-grain rice (important for the right stickiness!)
- Nori seaweed sheets (cut into strips)
- Fillings of your choice (see suggestions below)
- Pinch of salt
- Water
Filling Suggestions:
- Umeboshi plums (pickled plums)
- Tuna mayo (canned tuna mixed with Japanese mayonnaise and a dash of soy sauce)
- Grilled salmon flakes
- Spicy cod roe (mentaiko)
- Kombu tsukudani (simmered kelp)
- Okaka (dried bonito flakes moistened with soy sauce)
- Vegetarian option: Pickled vegetables
Instructions
-
Prepare the Rice: Ensure your cooked rice is still warm. This helps with shaping. If the rice has cooled down too much, you can gently reheat it in the microwave for a short period.
-
Prepare Your Hands: This is key to preventing the rice from sticking everywhere! Wet your hands thoroughly with water. Then, sprinkle a generous pinch of salt onto your palms. Spread the salt evenly. The salt not only prevents sticking but also lightly seasons the rice.
-
Shape the Onigiri:
- Grab about ½ cup of the warm rice and gently cup it in your hand.
- Press your thumb into the center of the rice to create a small indentation.
- Place your chosen filling into the indentation. Don't overfill, or the onigiri will be difficult to close.
- Cover the filling with a small amount of additional rice, pressing gently to seal the filling inside.
-
Form the Shape:
- Gently shape the rice into your desired shape. The classic shape is a triangle, but you can also make round or cylindrical onigiri.
- Use both hands to firmly, but gently, press the rice together. The goal is to create a compact shape that holds its form without being too dense.
- Avoid squeezing the rice too tightly, as this can make it hard and unpleasant to eat.
-
Add the Nori:
- Cut nori seaweed sheets into strips wide enough to wrap around the base of your onigiri.
- Wrap a strip of nori around the bottom third of the onigiri. The nori adds flavor and provides a convenient handle.
- You can also decorate the onigiri with small pieces of nori on top for visual appeal.
-
Repeat: Repeat steps 2-5 with the remaining rice and fillings.
Serving Suggestions
- Onigiri are best enjoyed fresh, within a few hours of making them.
- Pack them in a bento box for a convenient lunch.
- Serve with miso soup or a side of pickled vegetables for a complete meal.
- For a fun twist, lightly grill the onigiri after shaping for a crispy exterior.
Enjoy your homemade onigiri! They are a delicious and satisfying way to enjoy simple, flavorful ingredients. Experiment with different fillings to find your favorite combinations!
Loading community feedback...